

Flattening a cherry slab on the slabbing table.
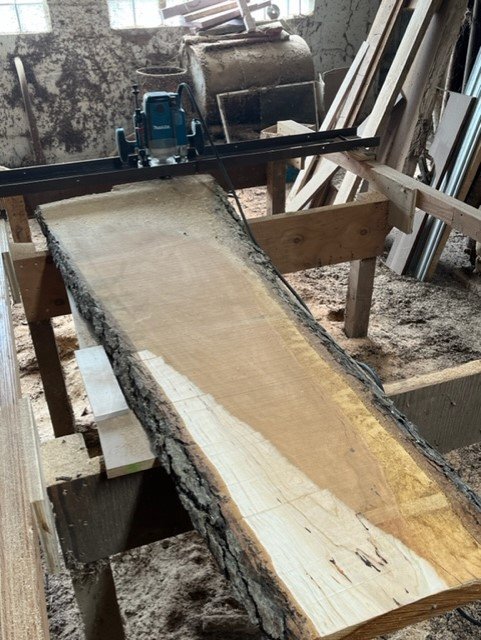
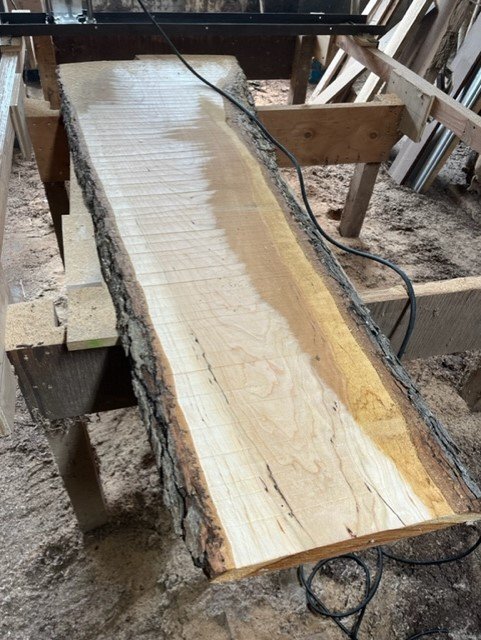
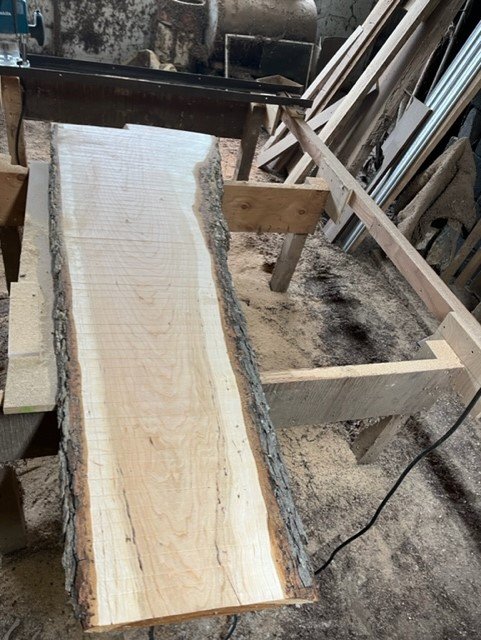
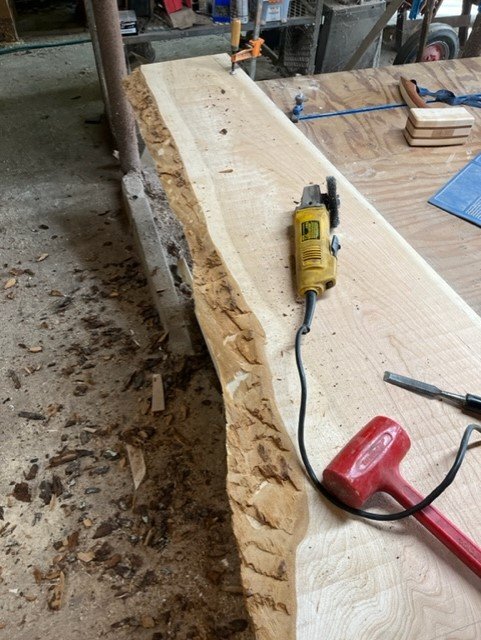
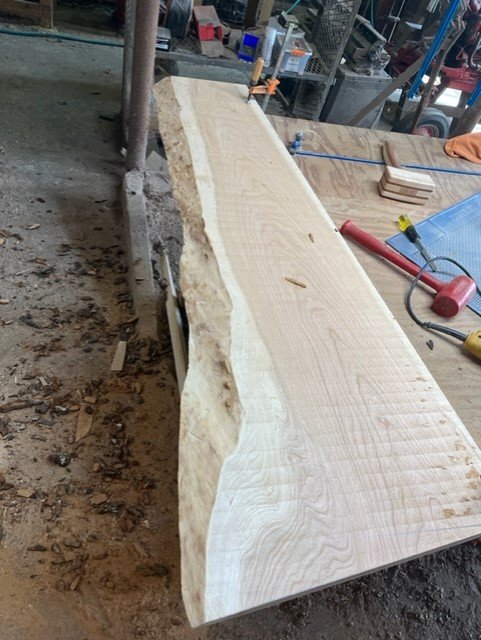
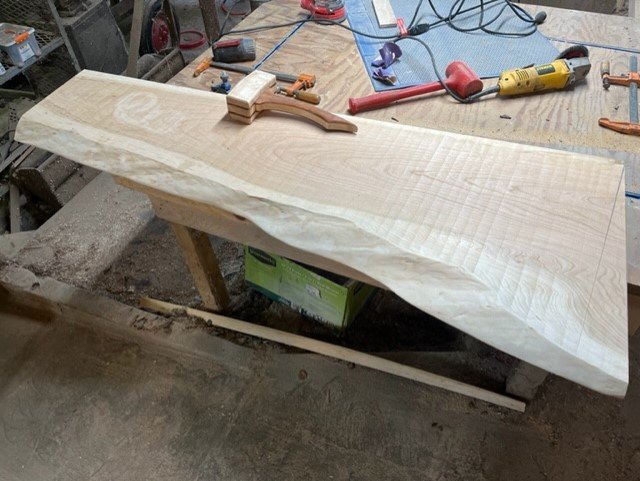
We made a 4’ wide by 10’ long table for flattening large slabs. Once we got it all leveled up it has worked great for getting the slabs ready for sanding. We use a 2” flattening router bit with 1/2” shank. Automation would be nice for this but hand-cutting will have to do for now.